Showing posts with label Pinterest. Show all posts

Monday, July 21, 2014

Adventures in packing!

This is what my guest room likes looks like at the moment. My closet has thrown up all over the bed as I am trying to pick and chose what outfits to wear to my trip to Peru!


My family members are always dressed to the nines, even in the cold of winter over there. So I need to spruce up my outfit selection if I don't want to look like a frumpy traveler!

This is the Pinterest board I chose to help me with my selections!

I can't wait to tell you about my trip!


 photo signature_zpsc02a1d65.png

Sunday, July 20, 2014

Mangos for you, mangos for me!


And SNL's Mango is who I think about whenever I talk about my own mango tree! I mean they are falling everywhere from my trees! What am I to do? I guess I must show them off to you!


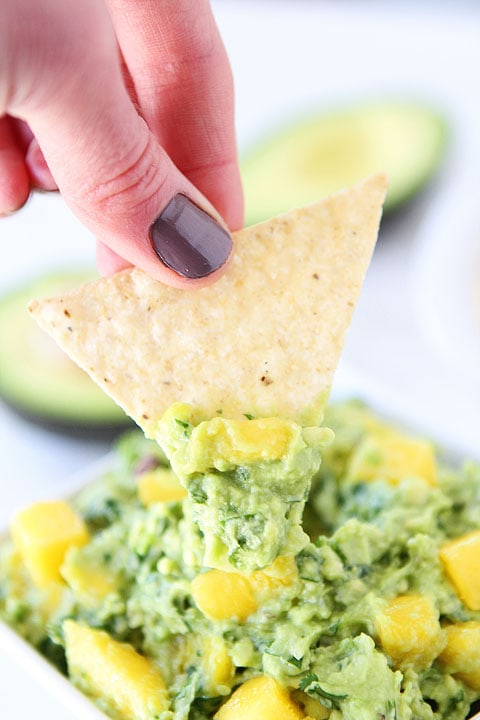
I had already posted my Mango Chicken recipe [here], but I think these are some more recipes I will be testing out before mango season is over. And after mangos are done...we get avocados! So get ready to see these babies here too!

Self.com
Damndelicious.net
twopeasandtheirpod.com


Happy Pinteresting lovelies!


 photo signature_zpsc02a1d65.png

Monday, July 7, 2014

Comic Book Bar Display and Remodel

We've had a lot of fun and headaches in remodeling and filling up our new home. And there are many parts of our home I have yet to show you. So I'll begin with this room in our house.
So this is how the previous owners left the house. I wasn't too into the chair rails and the two-toned green. But before the handymen took over, we made this our dining room.


However, soon after, we noticed that the pool/ping-pong table the previous owners had left behind could not survive outdoors in the Miami humidity. Therefore we brought it back inside. We painted the walls of the room a blueish gray. And we were lucky enough to inherit 4 barstool chairs from a TV studio from my brother-in-law's job.


We wanted to dress up our bar area and hubby a million and one ideas for his comic book and card collection. Instead of allowing him to take over one of the walls in the main living room, we agreed on dressing up the play room/bar area. 

So for this Comic Book Display, we decided to take to Ikea to get our ideas started! 
We purchased three 21in RIBBA Picture Ledges for $9.99/each in addition to several RIBBA Picture Frames size 81/2 x 11in at $4.99/each. I also bought some black construction paper since the frames are slightly bigger than the comic books and the paper would allow for a black backing for them. 


I have to say our little project was fun for both of us. He got to go down memory lane and pick his favorite cards and comic books. And I utilized my overly annoying perfectionism in measuring and placing the ledges and frames on the walls. ha! Now that I am looking at this picture, I think we will add another set of frames to the left side of the window too. What do you think?


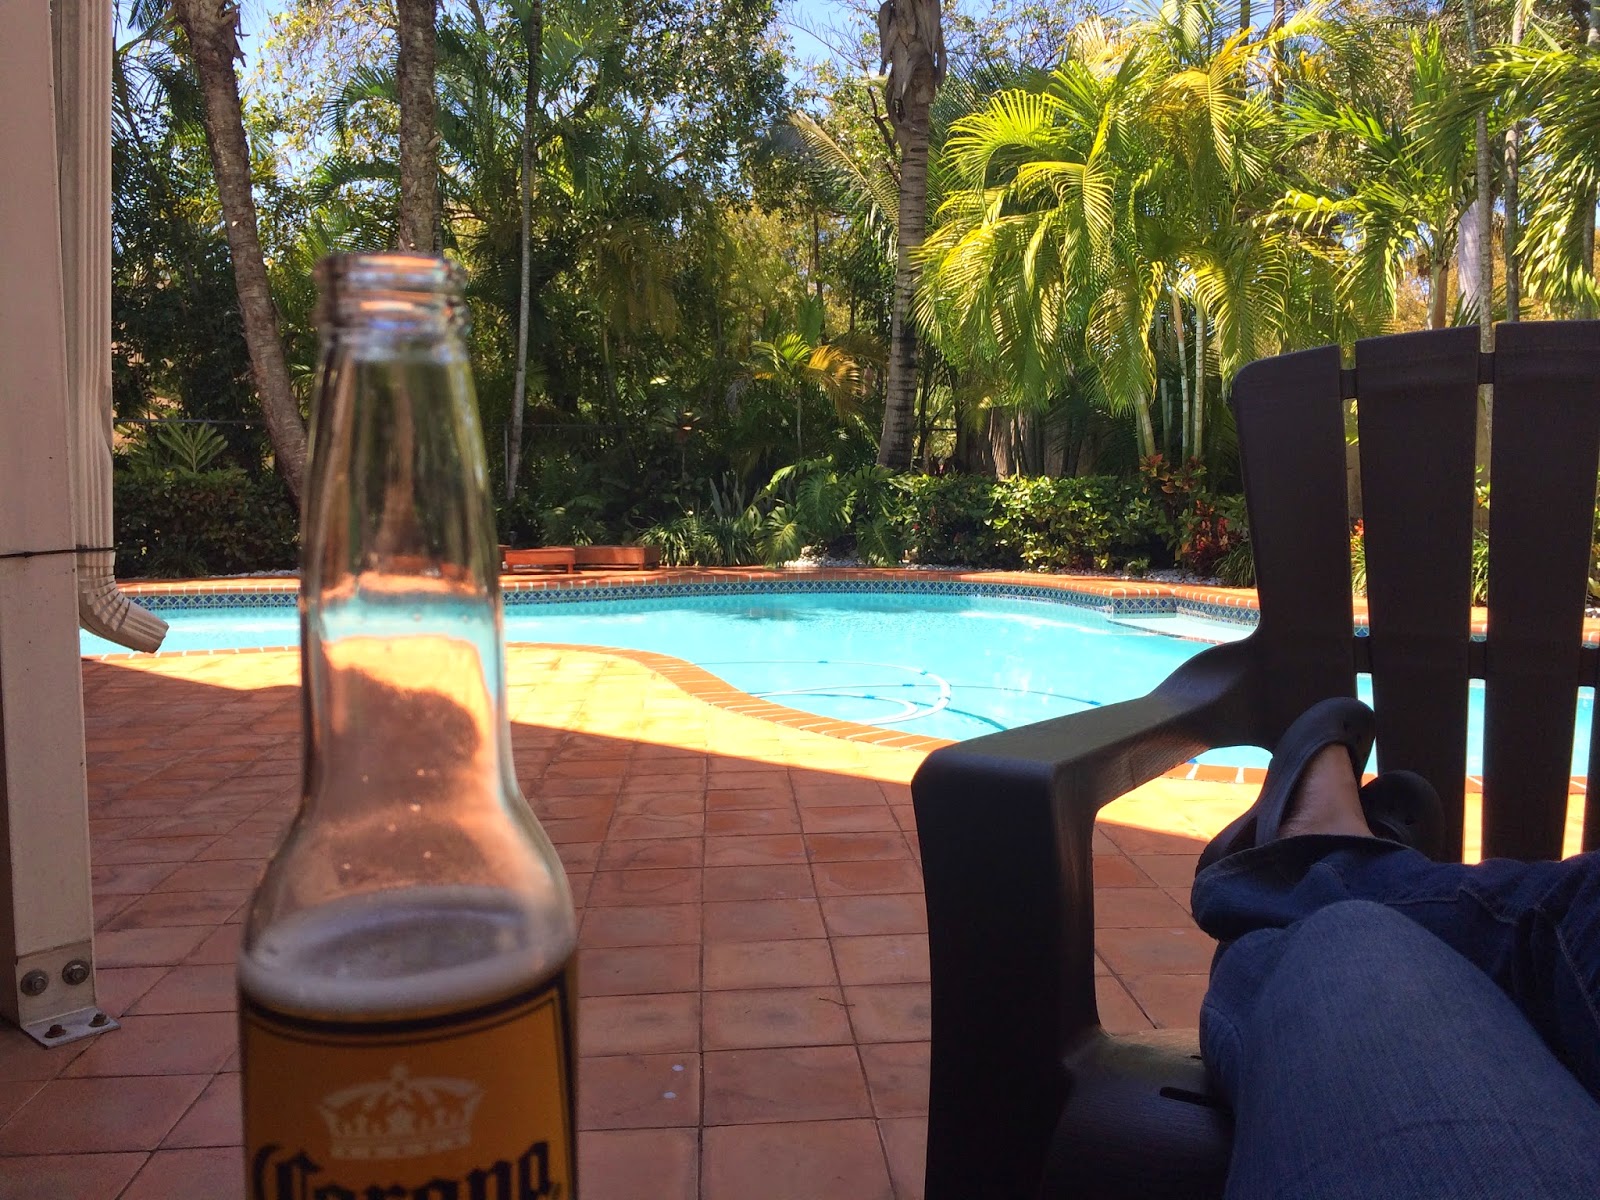
We are also in the search for some cool window treatments because we have two large sliding doors and one window that we need to dress up pretty. But, in the meantime...we will enjoy some fun in the pool. 

Would you like to join us?


 photo signature_zpsc02a1d65.png

Friday, April 18, 2014

Baby Shower Fun!


Last week I hosted my sister's baby shower at my house. Unfortunately, I have event planning anxiety, so everything leading up to the event was stress inducing, but I had some very good people helping out during the day.

However, I need to recharge myself with stress reduction fluids pre decor party!


My aunt was in charge of beefing up the decor for the "Mommy-to-bee" event and she did such an amazing job:


All of our family members (there are many of us) helped out by bringing one to three dishes to the party! We had peruvian ceviche, suspiros, butifarras, chicken sandwiches, sangria, ice tea...ohhhemmmgeee!


And I of course, had to have my way with a little onesie activity center where guests could create appliqué or iron-on designs on onesies. Thank you to Pinterest and my dear friend Jen for the idea!


The family and festivities continued:

Me, little D, and my mom
D and her work crew 
My cousin Francesco played barman!
Hubby and brother-in-law played valet men! 
The beautiful ladies of our family!

All of the stress was truly worth it!


 photo 52abfd94-ed48-4d5e-b617-840056588aaa_zpsb3d9f473.jpg

Tuesday, October 23, 2012

Pinterest Penguins

I was really inspired not too long ago to finally take on these super cute olive penguins I found on Pinterest!
 Aren't they the most adorable things you've ever seen?!


 Hubby's family was visiting from NJ and although he was grilling some good meat, I just wanted to give it a try! I thought it would take a long time, but honestly, I just put on some music, opened a bottle of wine, and had some fun in my kitchen. *Oh and I peeked here to get a better idea of the process*
You will need the following for about 40 cute penguins:

1 can of small pitted black olives, drained
1-2 can of large or colossal pitted black olives, drained
2-3 washed and peeled carrots
8oz of cream cheese (choose a flavored kind for an added kick!)
Round toothpicks


After draining and separating the olives, allow them to air dry or gently pat them with a paper towel.
As you can see, a bottle of wine was nearby to assist with refills...


Slice the carrots into 1/4 inch thick wheels. 
Once you've sliced them all, cut out a small triangle from the wheel as seen below.
These will later become their feet and their beaks!


Take the larger sized olives and with a knife, cut an opening from top to bottom. Guide your cut from the marks from where the olive pitted.


Now, I know you've been washing your hands throughout this process. If you haven't yet....do it now! With your fingers, scoop some cream cheese, and gently stuff it into the large olives. Don't try to clean the cream cheese from the olives right away. Just wait till you have stuffed all of the olives, wash your hands, and with a moist paper towel, wipe the extra cream cheese.


 And maybe I could have taken a picture of how I placed the beaks...but alas, I forgot to do it with my cream cheese filled fingers! lol!
Remember that little triangle you cut from the carrot wheels? You will take that triangle and cut it half, maybe even in thirds. Thing is, you will place the skinniest part of the triangle into the smaller opening of the small olives. This way, the carrot will stay in place and the olive will not break apart.


When you are ready, grab your toothpick and slowly pierce a whole through the side of the small olive, through the top of the large olive, and into the bottom carrot wheel...I mean... Head, shoulders, and feet!

And now...TADAH!!!


 You've got yourself the cutest little finger foods you'll never want to eat. They are just too adorable to bite into!


What has been your most recent Pinterest creation?? 

LinkWithin

Related Posts Plugin for WordPress, Blogger...